Let’s get ready to grow
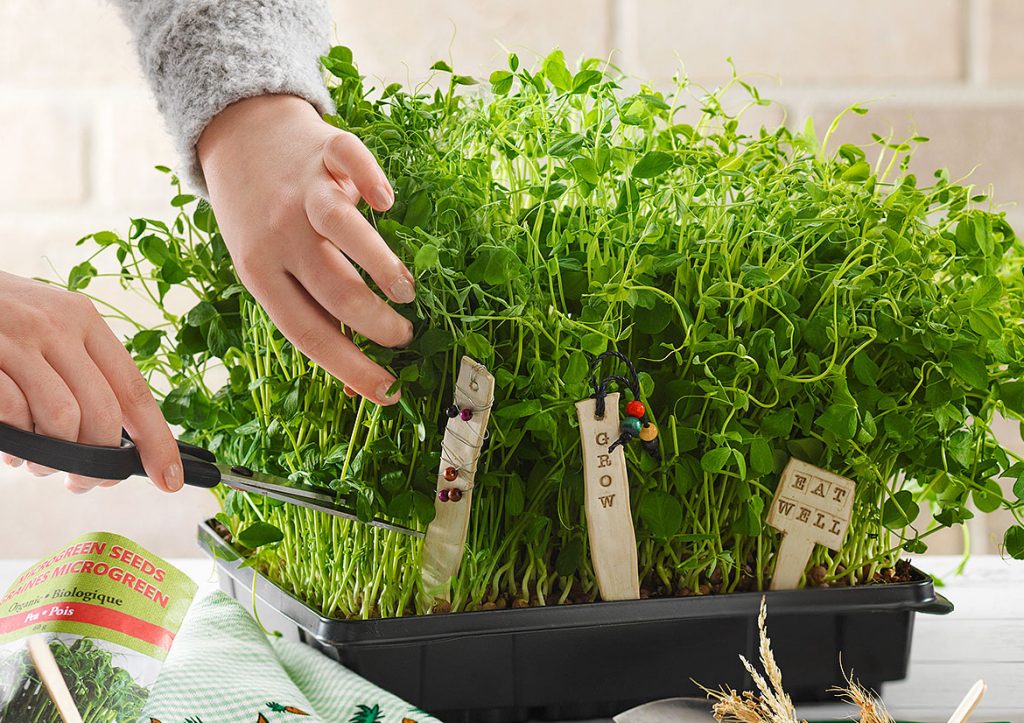
Let your creativity flow and make these DIY plant stakes uniquely yours at home. As spring begins to sprout, many of us begin dreaming of growing plants, putting in a garden, and filling our spaces with all that is green. Take your gardens and planters up a notch this season and make yourself custom plant stakes.
Whether you grow your garden on a windowsill or on an acre of land, every plant starts from a single seed. Canadian farmers take it to the next level, planting seeds on hundreds or thousands of acres, and their seeds will grow into food ingredients for you and me to enjoy in our kitchens. Curious about spring on the farm?
Three farmers to follow:
Jeannette Andrashewski is on Instagram @farminginpearls where she’s often sharing daily farm life, meals from her kitchen and ready to answer your questions.
Connect with Will Bergmann, you can find him on Instagram @will_bergmann where you will have a glimpse into farm life, his CSA garden and other prairie adventures.
Farmer Stacey Saigon is featured in the latest edition of Real Dirt on Farming, a publication offered to those that are interested in learning more about Canadian food production.
How to make clay plant stakes at home
You will need:
- polymer clay
- paint or glaze
- wooden stick (to stir paint)
- impression items
- foam brush or paintbrush
- cookie sheet
- parchment
- rolling pin
- knife
- paper towel
How to create your plant stakes:
1. Warm up your clay by rolling it back and forth in your hands. Next, roll it into a ball, then into a snake. Repeat a couple times, until your snake can easily and fully bend in the middle without cracking.
2. Place your clay “snake” onto a piece of parchment on your work surface. Using a rolling pin, gently roll your clay out to slightly thicker than 1/4,” flipping at least once to prevent sticking.
3. Lay your impression item(s) on the surface of the clay. Gently and evenly roll over the surface one more time, pressing them into the soft clay. TIP: To ensure a sturdy stake, do not roll your clay any thinner than 1/4” thick. Carefully lift item(s) off the surface.
4. Using a knife, cut into desired shape(s). Cut the bottom of each shape into a point or triangle to make it easier to insert into the soil.
5. Carefully transfer your shape(s) to a baking sheet lined with parchment. Bake at 275oF (135oC) for 15 minutes. Clay will be slightly soft when removed from the oven but will firm up as it cools.
6. Once your plant stake(s) is cool, glaze with the provided paint to highlight the pattern. Stir paint well using a wooden stick. Pour paint onto a paint palette or jar lid. Use foam brush to apply, wipe away with a paper towel for desired effect.
*IMPRESSION ITEMS: Sturdy grasses, fern or cedar clippings, carrot tops, fresh herbs, leaves, lace, burlap, crochet doilies, feathers, buttons or craft stamps—anything with an interesting texture that can be pressed into the clay.
About polymer clay: Polymer clay is safe and non-toxic. Leftover clay can be rerolled and used right away or stored in its plastic bag.
Eat Well…Jenn