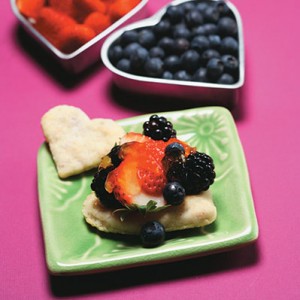
Pastry is just one of those baked goods that I rarely ever make. I grew up with two Grandmas and both made excellent pastry. One Grandma would send pies in from the farm anytime we needed one for a holiday gathering or for the school bake sale. My other Grandma would send over frozen dough balls. I think that was her way of telling my mom she really should just do this herself and that it’s really not that hard. I bet you can guess which one was her mom 😉
I don’t think my mom caught the hidden message because to this day she’s never made a pie from scratch that I’m aware of. Don’t get me wrong my family eats pies and there are often pies in our freezers but they arrive via very talented bakers from local Hutterite colonies and they are delish!
I’m good at eating pastry just not making it. I must confess that in the past I have purchased frozen tart shells (yuk and double yuk when you read the ingredients), I’ve tried pastry mixes (successful but not the same as homemade) and a few times I have made a batch of traditional pastry using shortening or lard. None of these past attempts have convinced me that pastry is my thing.
In the past few months, I keep coming across our Cool Canola Pastry recipe and I’ve heard it talked about more than once. I’m not one to believe in coincidences, I believe that things keep crossing our paths for a reason and that we are to take notice. So, I’ve finally taken notice. I made the pastry!
Wow! I made pastry. Even my husband was stunned and he’s become accustomed to a counter full of my healthy baking creations. Maybe it was because I took that pastry and turned it into a meat pie. Apparently one of those nostalgic dinners his mother used to make. How was I to know!?!
What makes this recipe cool and I mean cool in the literal sense is that you need to chill your canola oil. Actually, it is best if you freeze the canola oil overnight. It becomes solid and allows you to get little pockets of fat surrounded by flour to make it light and flaky. Yes, I just said you can get flaky pastry made from canola oil!
I’m making this one of my new go-to recipes and I have shifted from “I don’t make pastry” to “I make pastry but only with canola oil!”.
Eat Well…Jenn
You can skip right to the bottom of this post for the Cool Canola Pastry recipe or you can follow the link to a printer-friendly version. To make this even easier we have some step by step photos to help you along. Happy pastry making!
Here we go:
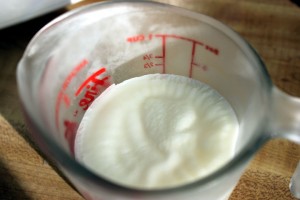
First, you need to freeze 2/3 cup of canola oil overnight. It will look like this:
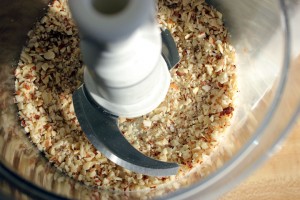
Get out your food processor or some sort of kitchen gadget that will slightly grind up your sliced almonds. The almonds help your pastry to brown. Without them in the dough you will not get that golden pastry look that we are all used to getting from other types of fat. Here’s what my almonds looked like:
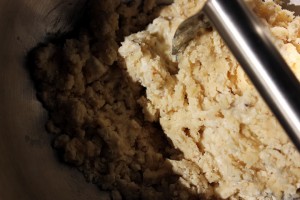
Now the recipe tells you to keep adding all of the ingredients into your food processor to make the dough. I started to do that and then quickly realized that I have a small food processor. I don’t use mine very often so I have yet to invest in a larger one. Do not despair…I pulled out some good old-fashioned elbow grease, a medium-sized bowl and my pastry blender. It worked great and I got an arm workout at the same time! Here is my mostly mixed dough with all of the dry ingredients and some of the wet added:
Once I had everything just nicely mixed together I dumped my pastry on a floured counter, broke it into two, kneaded one half of my pastry a couple of times to form a ball and started to roll. Did it ever roll out nice! Check it out:
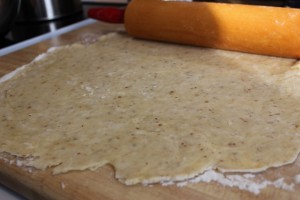
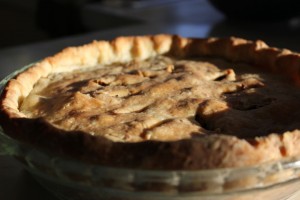
This is where you can decide if you are going to follow our recipe to cut out shapes, make tarts, a pie or the latest pastry creation you are creating. I needed something for dinner so I made a meat pie. I wrapped the rolled pastry around my rolling pin (Thanks Grandma for leaving me this fantastic pin that knows what to do!) and placed it over a pie plate. I just love that mid-afternoon winter sunshine casting shadows in my kitchen:
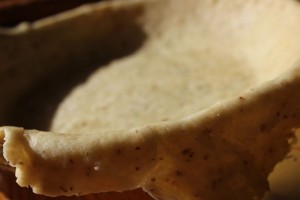
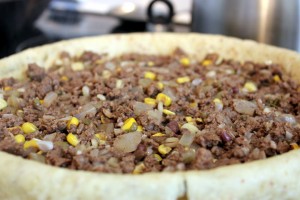
Then I filled it with my meat filling (and some corn…you can never eat too many veggies!):
I rolled out that other ball of dough and covered over the pie. Pressed the edges closed and added some vents.
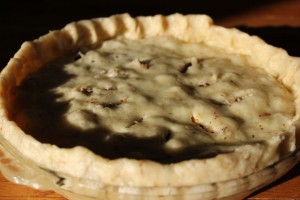
I covered the edges of my pie with tin foil so that they didn’t get too brown. I left these on for the first 20 minutes of baking and then took them off for the last 20-25 minutes.
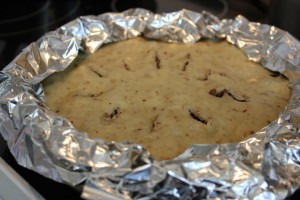
Then voila! My own version of tourtiere or for you English folks – meat pie. This was an easy, successful and tasty meal to prepare. We paired it up with giant salads loaded with veggies and a basic red wine vinegar/canola oil dressing. I will be making this one again!
Watch Ellen make this dough from a past season of Great Tastes of Manitoba:

Comments are closed.